Sundays with the Morgans:
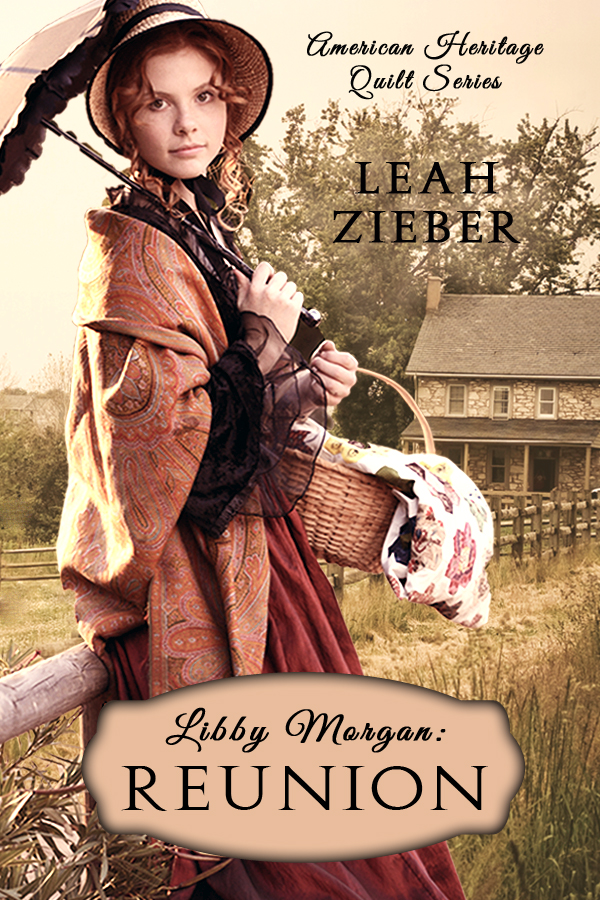
Selected readings from my new historical fiction novel,
Libby Morgan: Reunion.
I have decide to call these special posts “Sundays with the Morgans.” My hope that you enjoy following along and you will find yourself inspired to read, learn about quilt history and make quilts. Each week I will blog about bits from the book and the history behind the excerpt. As a bonus, I will be giving a peek into future stories as they evolve in my head and on the page. Reunion is only the first in my American Heritage Quilt Series where I follow the Morgan family through one hundred years of America’s time-honored quilting tradition. Join me as I research, write and quilt my way through history.
And now… from Chapter 10, in which Libby receives her first lesson in English paper piecing.
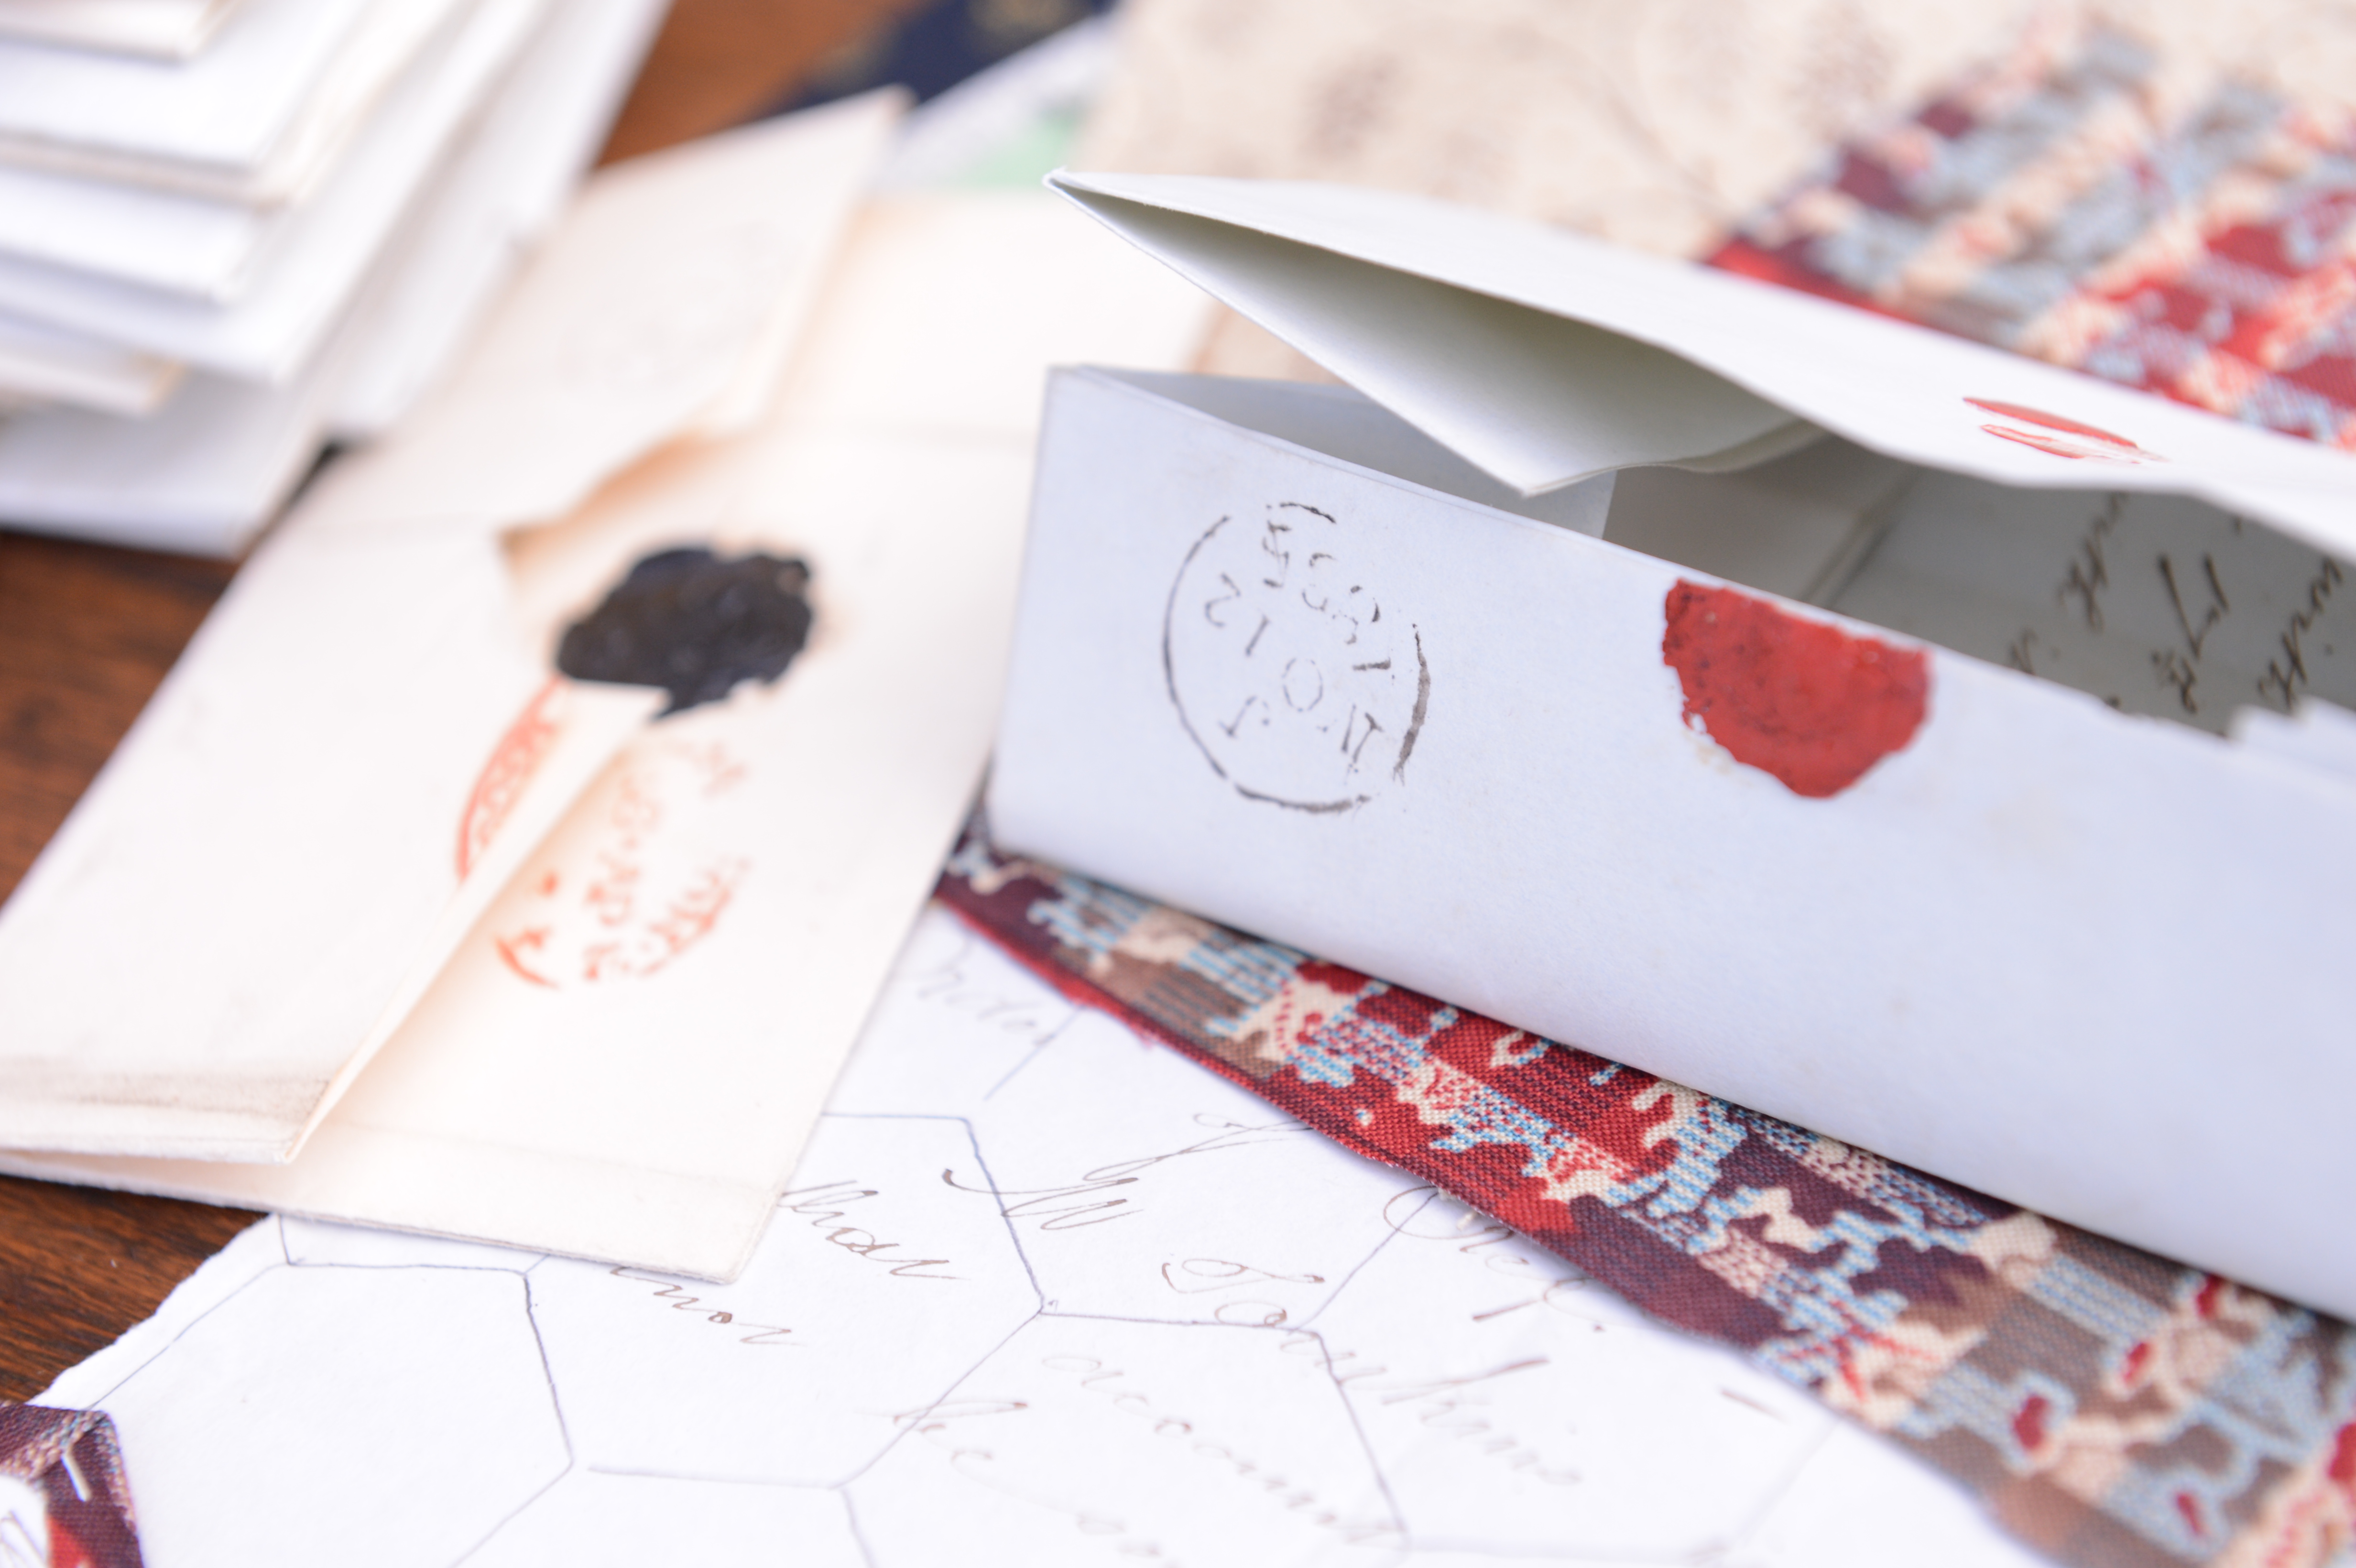
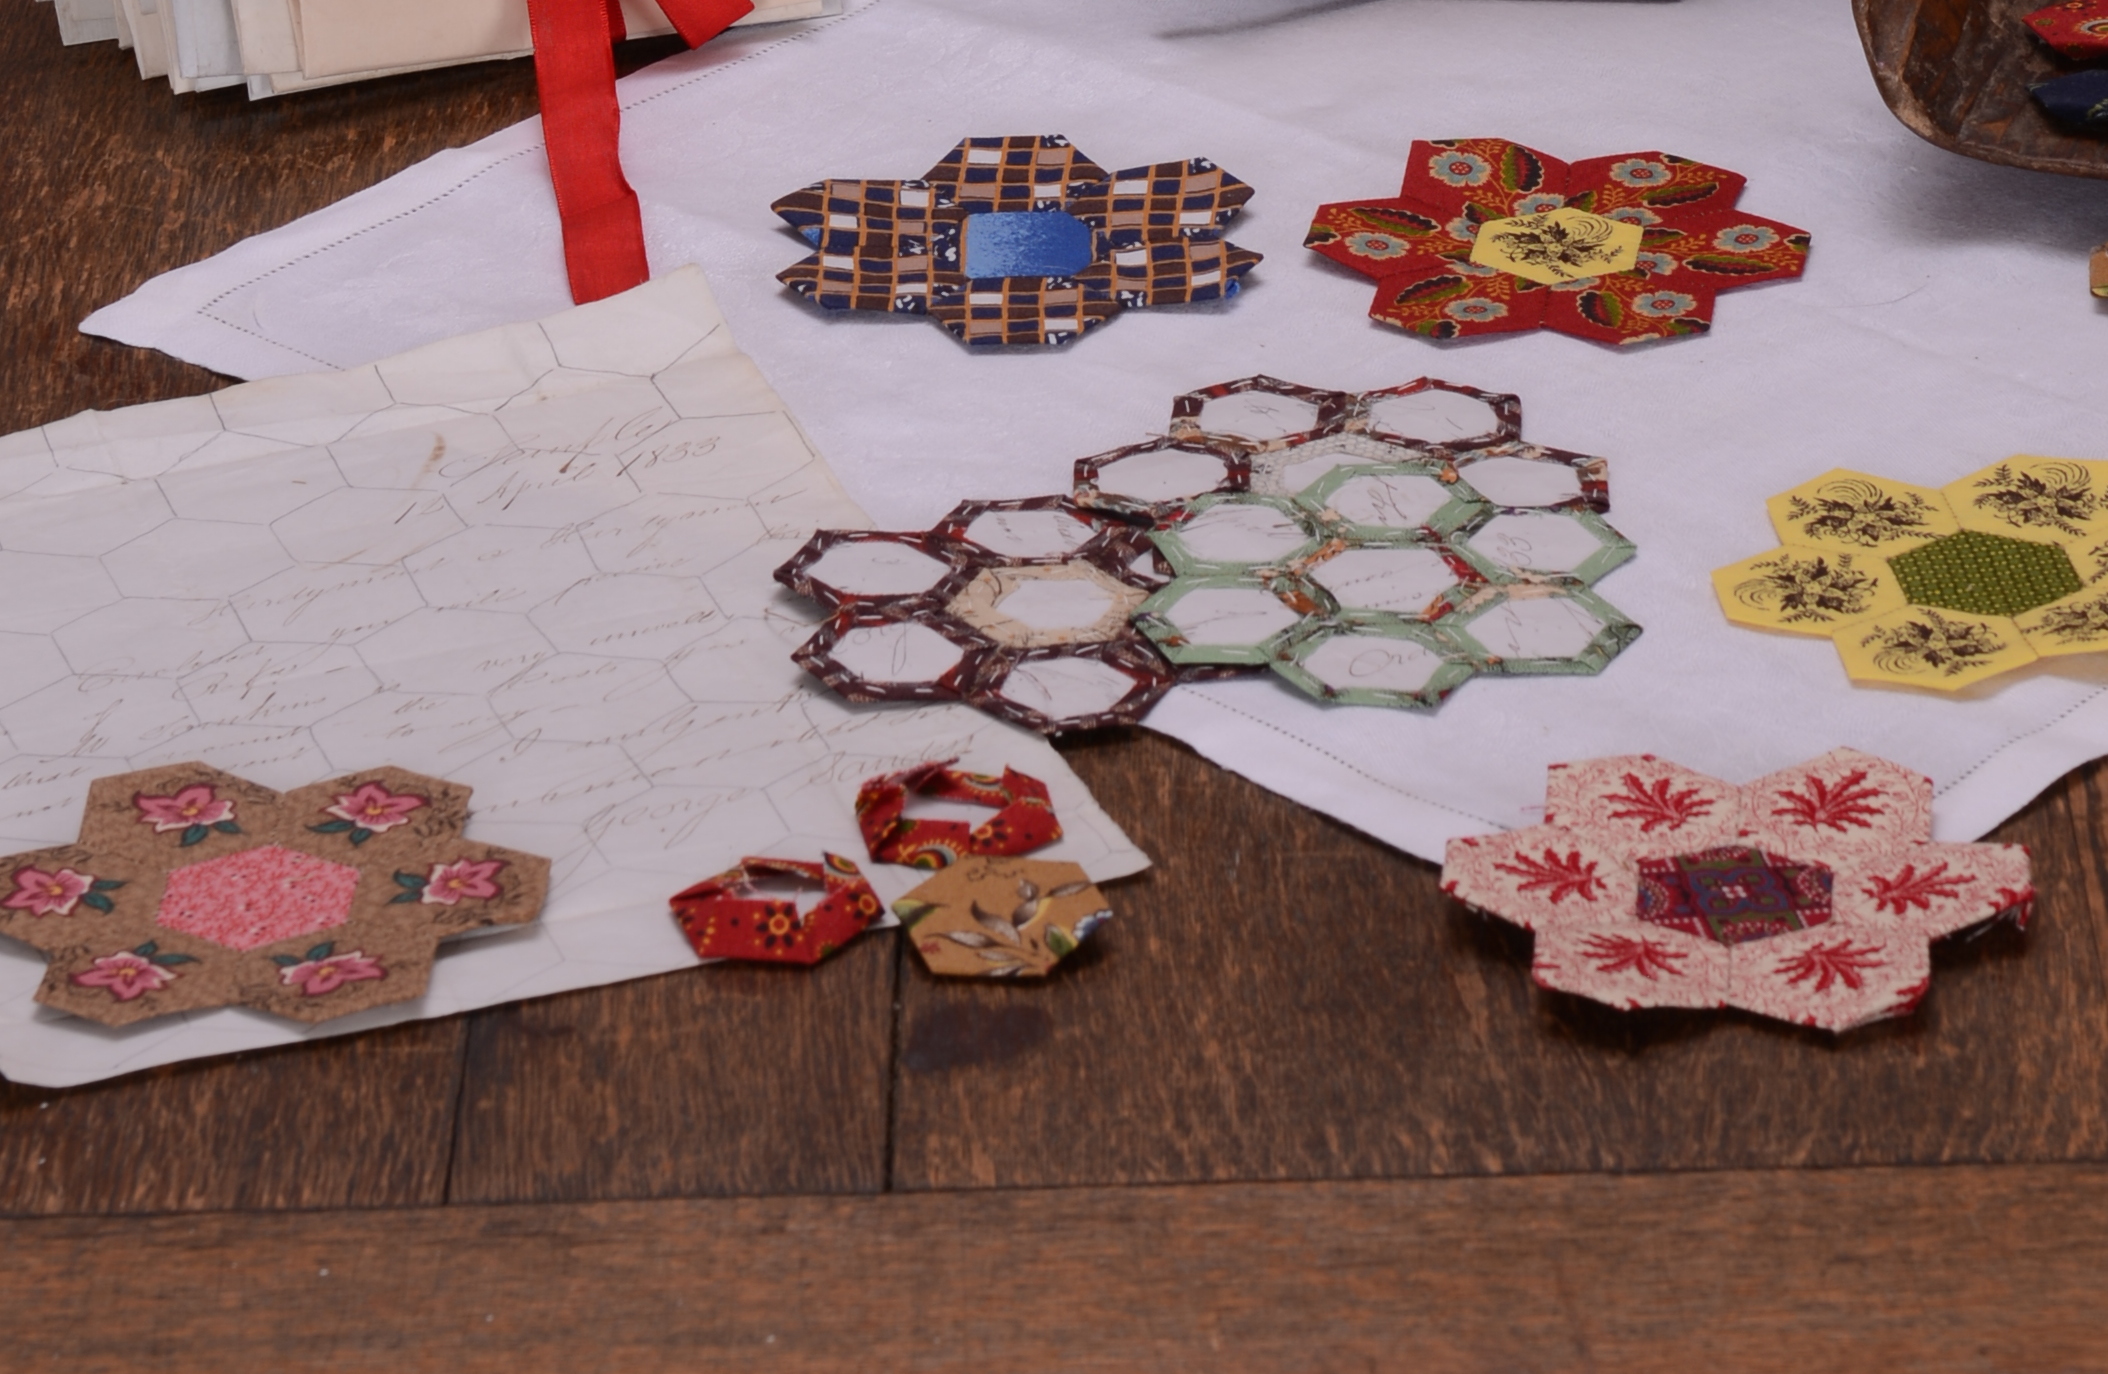
- Letters were often used as templates in early English paper pieced quilts. Dated letters visible on the backs of unfinished pieces allow historians to date fabric and quilts.
Libby set the template on the table and picked up the scissors, but before she cut the letter, she looked up at her grandmother for affirmation. With a look of assurance and a nod, Mother Morgan said, “Cut away, my dear, for that is one letter I will enjoy seeing cut to bits!” So cut Libby did, and when she was finished, she had a lap full of small paper hexagons, and Mother Morgan had a look of complete satisfaction on her face.
“Now that you have your templates, I want you to pick out some of the fabrics that you like so we can make your patchwork flowers.” Libby pulled some of the swatches she had begun to pair up the night before from the box.
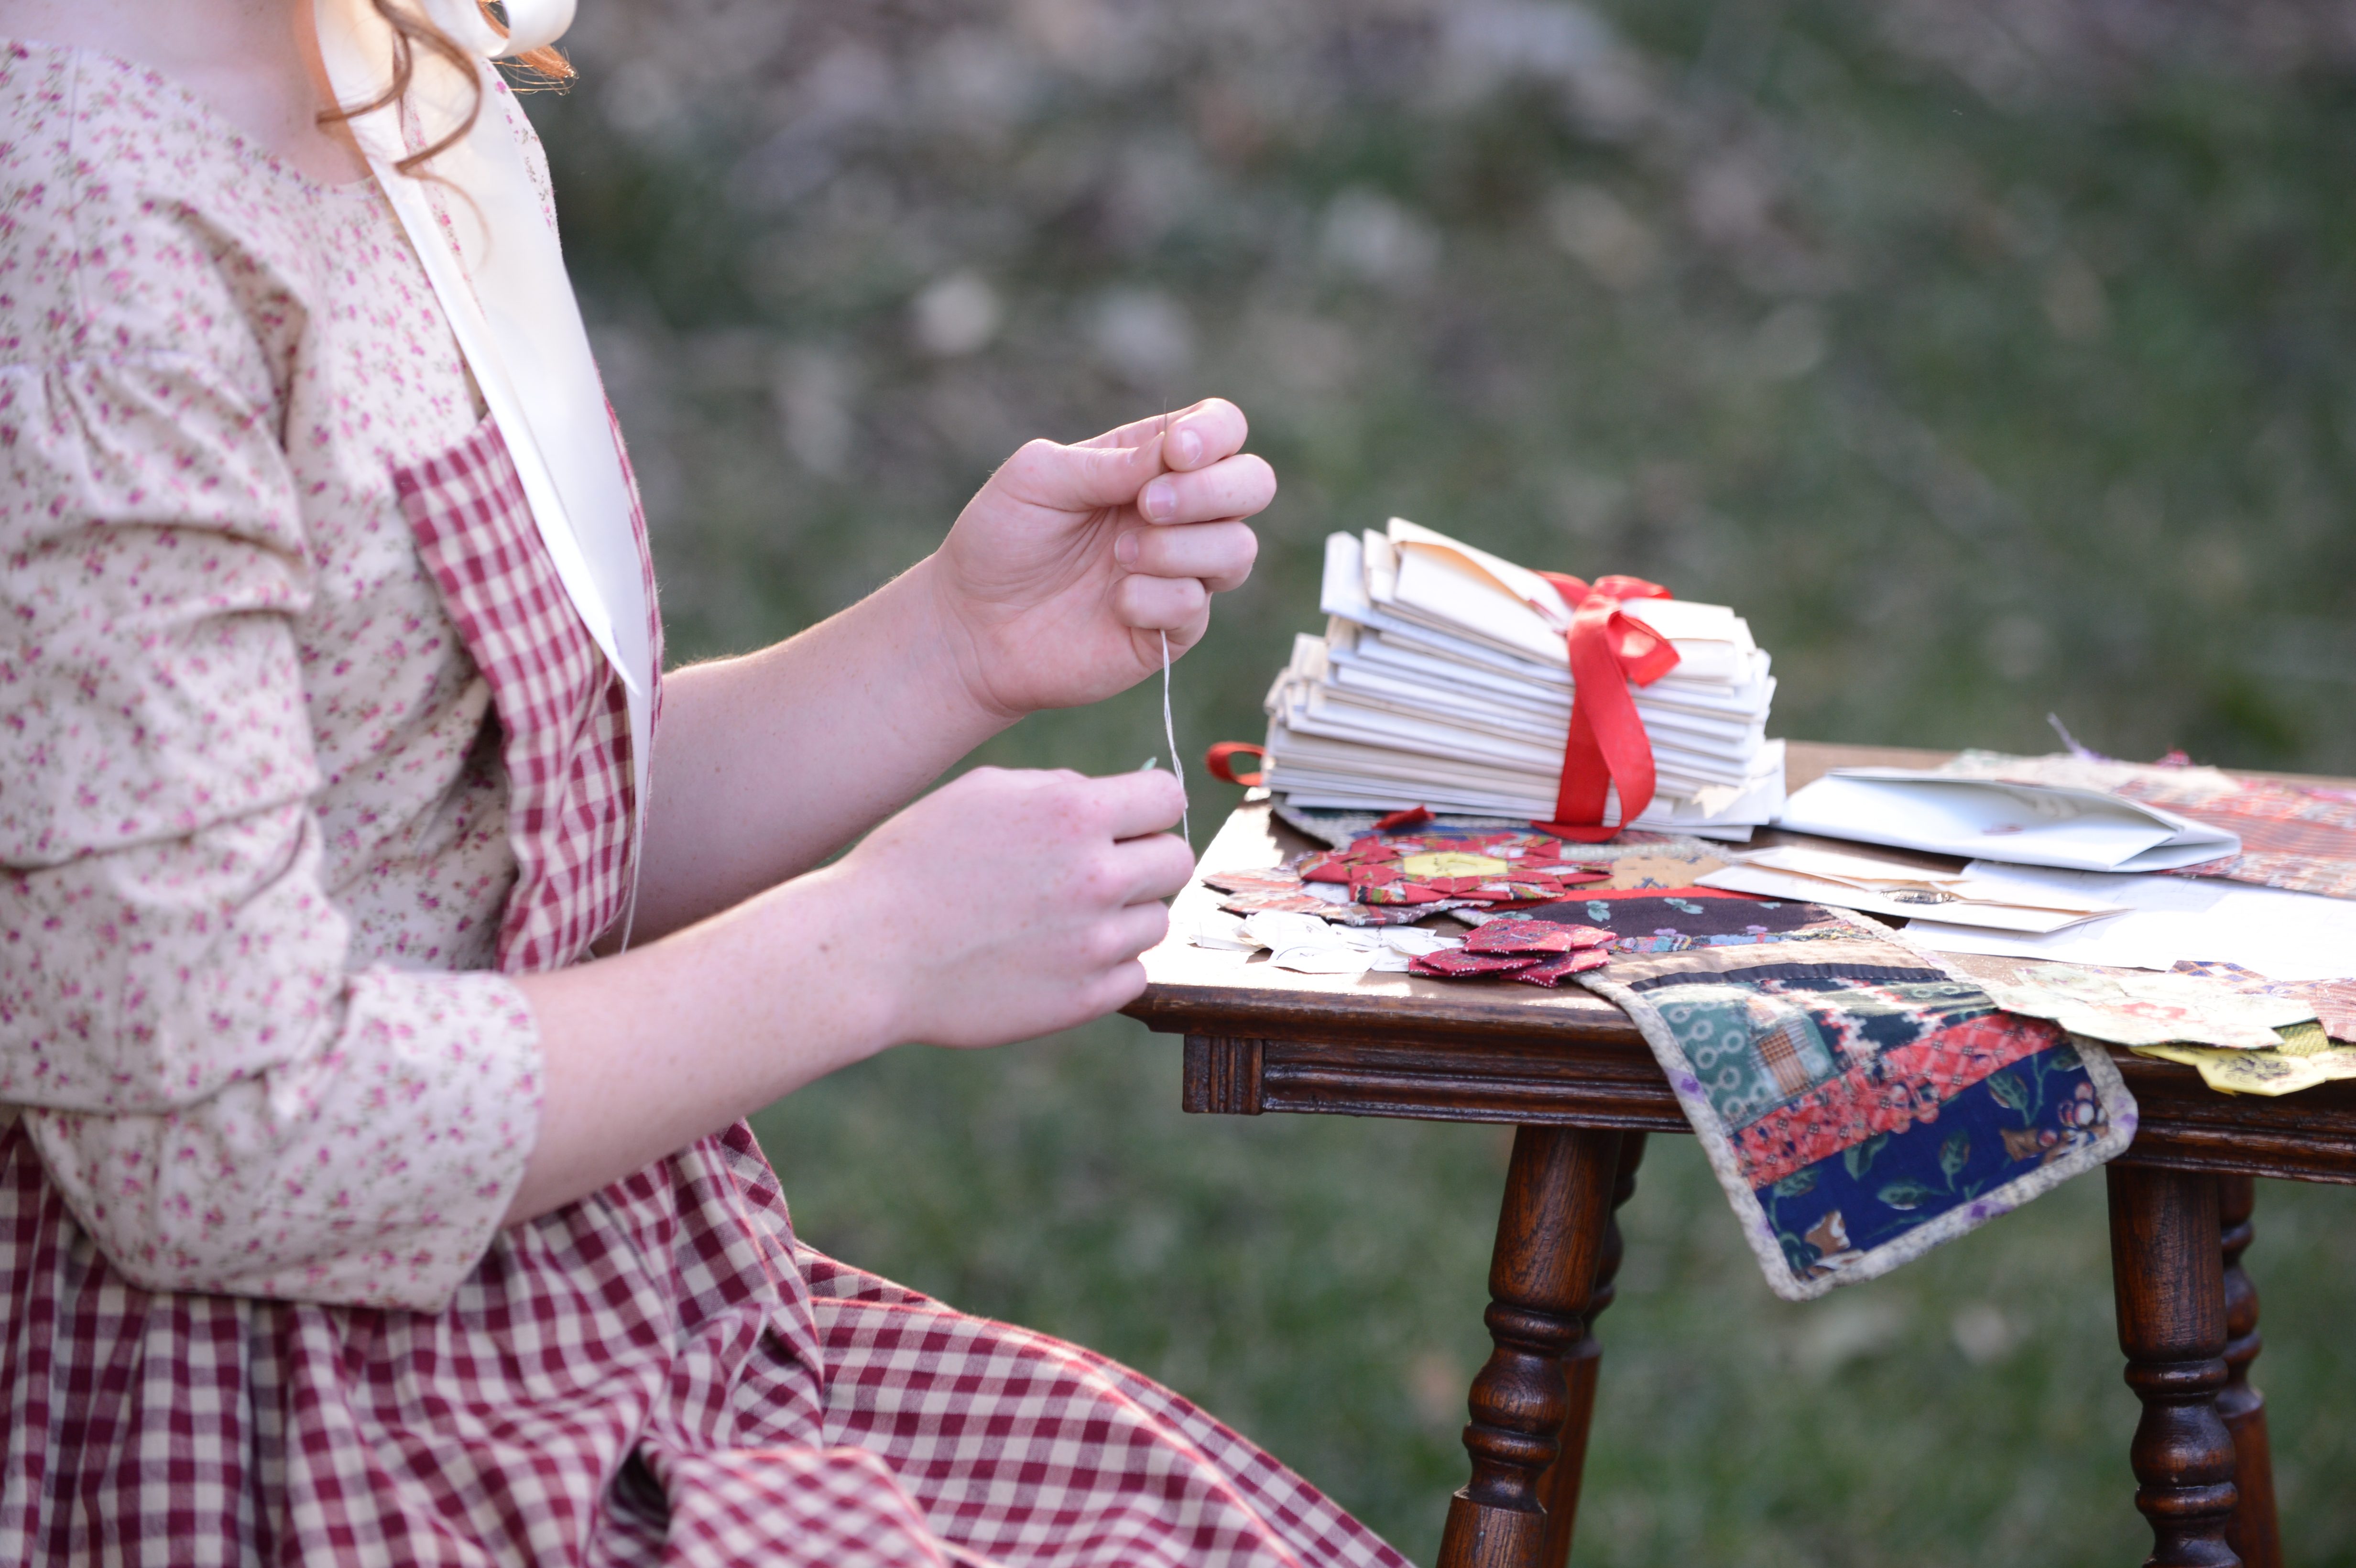
Getting pins from Libby’s huswif, Mother Morgan showed her granddaughter how to pin each of the paper templates onto the wrong side of the fabric, making sure to leave enough space between templates for the seam allowances. She instructed Libby to place the templates in a specific location on the fabric in order to get a design in the very center of each template, and she explained that when those pieces were sewn together, they would create a special secondary design. Once the fabric was cut around each of the papers, always leaving enough seam allowance to turn the edge down, she showed Libby how to use the needle and thread to baste the fabric onto the template so that the edges were tacked down to the wrong side and there was a smooth, finished edge all the way around the piece.
She then explained how Libby would need a center hexagon in one fabric color and six “petal” hexagons in another fabric to create one of the flowers. Once these were all basted, Mother Morgan showed Libby how to use a whip stitch to join the hexagons, starting with the center and attaching each of the six petals to create the flower units. She explained how important it was to leave the papers in the hexagons until all of the six sides of each hexagon were attached to other hexagons—this prevented the edges from fraying. She said that sometimes people left all the papers in the spread until the top was completed, then they would take them out prior to quilting; others left them in the quilt for added warmth and never took them out, however this did make quilting the top difficult.
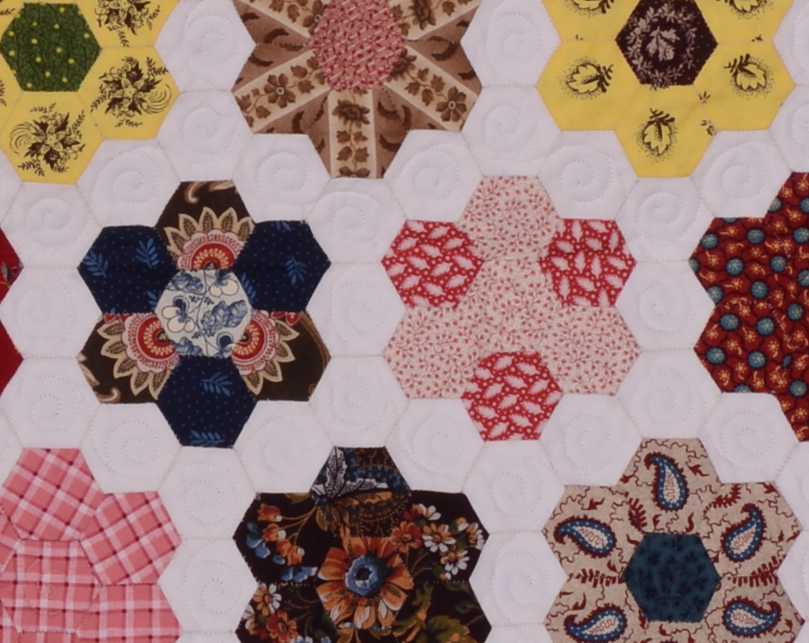
- Libby’s Garden Spread – designed by Leah Zieber, pieced by Val Jean Zieber and quilted by Susan Davis.
Libby tried very hard to remember her grandmother’s words; she wanted to prove herself a good student, and it mattered what her grandmother thought of her sewing skills. The swatches of fabric her grandfather had given her were not very large cuts, so there was little room for error if she was to get six petal pieces from one of the swatches. She was careful to lay the templates on the swatch just right to get the maximum pieces from each cut. The many swatches of chintz and calicos were a treasure to Libby and she did not want to waste a single inch. In some cases, she would only be able to get three hexagons from the fabrics, for they were smaller swatches, but Mother Morgan explained that she could use three from one fabric and three from another to also get a lovely design.
The sun was reaching mid-sky by the time Libby had completed one whole flower. She found it took more time than she thought to baste all the pieces and then whip stitch them together, especially with her inexperienced fingers, but she was “coming along nicely” according to Mother Morgan. Her grandmother, on the other hand, had completed five flowers for Libby’s quilt. Not only was she quick in her stitching but her accuracy and the quality of her stitches was undeniably the best Libby had ever seen.
“Mother Morgan,” Libby began, “do you think I will ever sew as well as you? You seem to achieve perfection without any thought for what you are doing. How is it you can do it so quickly and still keep your stitches so uniform and tiny?”
“When you have been sewing every day for as long as I have, child, then you will understand. My fingers know the motions without my having to think about it.
What is English Paper Piecing?
Some of the earliest patchwork known to exist used the same technique as the English Paper Piecing (EPP) or Paper Template Piecing (PTP) described in my story. Basically, the method consists of basting fabric (silk, linen, cotton or wool) to a paper template and whip stitching to an adjoining piece. The early templates were made from a wide variety of materials including letters, book pages, legal documents, newspapers and a whole host of other types of paper. The shapes ranged from very simple squares to more difficult pieces like hexagons or diamonds and sometimes two different pieces like the octagon and square were used to create the quilts, spreads and other textile item. Some templates yielded beautiful secondary designs as in the tumbling blocks pattern and early quilt makers were quite skilled in their techniques, even to the point of creating very detailed pictorial scenes.
RESOURCES:
Most of the quilt history books available have at least some mention of paper piecing. And some reference books have wonderful images of these types of quilts. There are so many beautiful quilts made by women and men (some of the soldier quilts were made using this techniques). My personal favorites books with regard to paper piecing are the following:
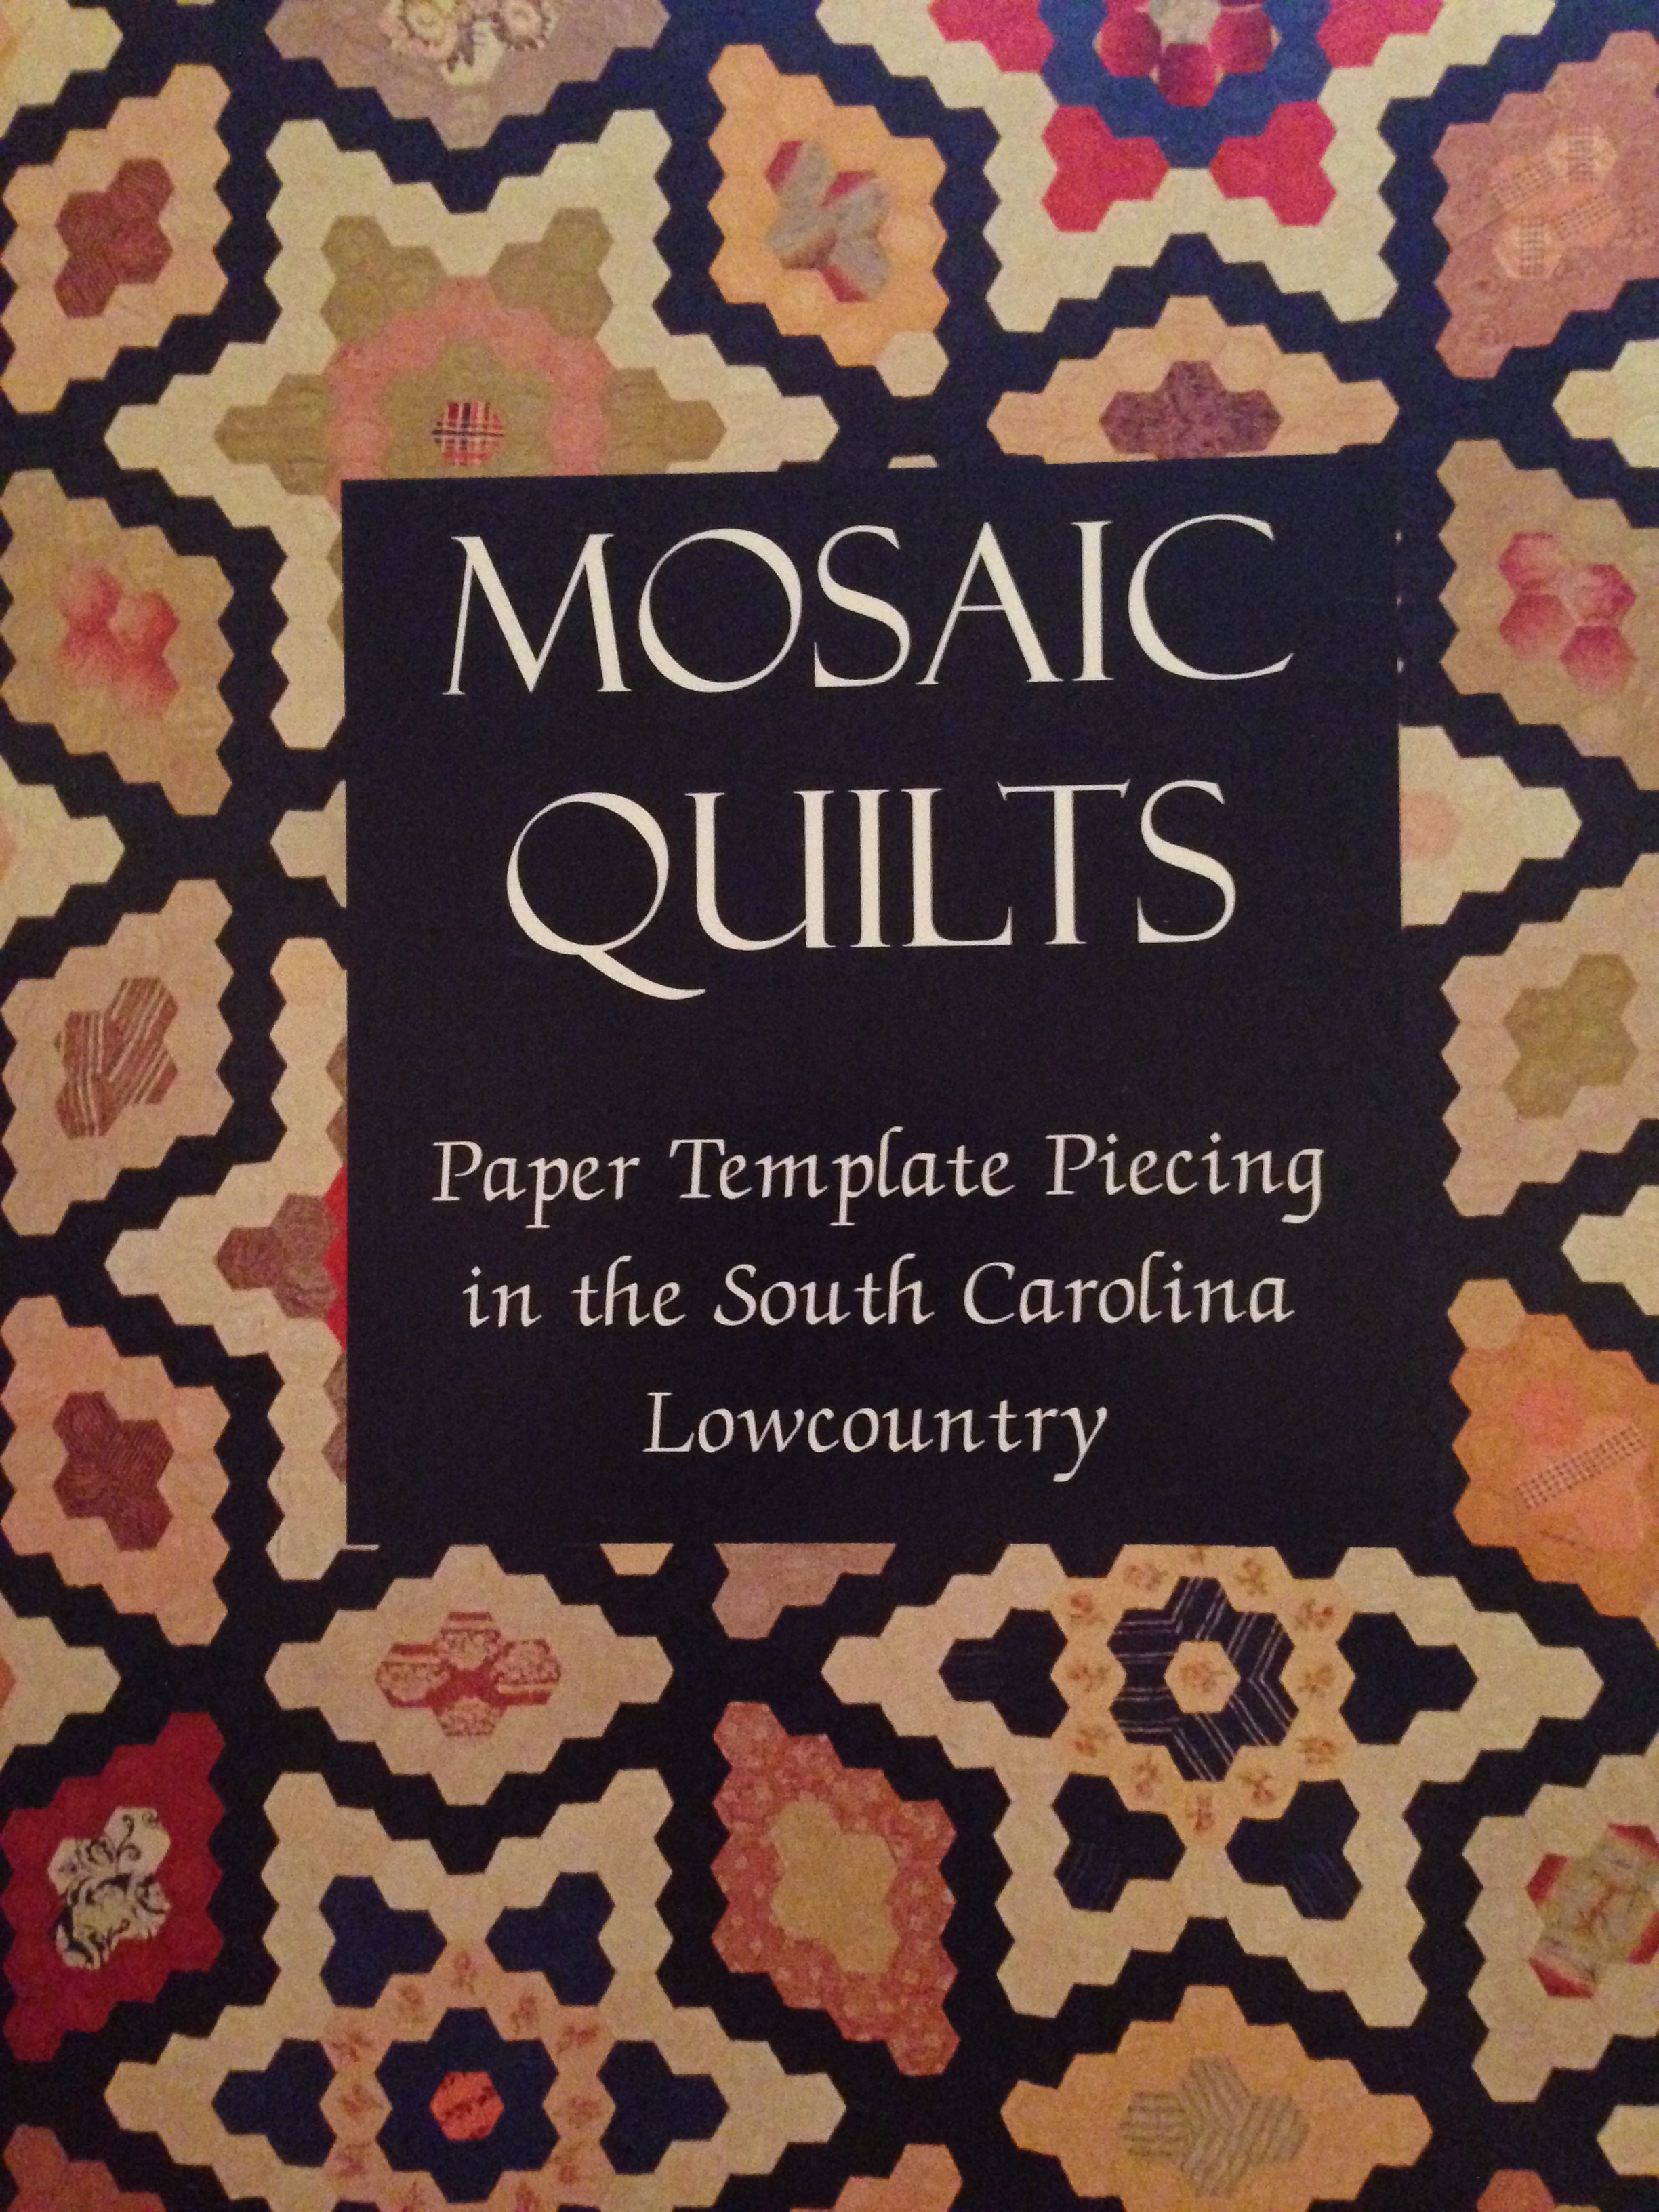 Mosaic Quilts: Paper Template Piecing in the South Carolina Lowcountry put out by The Charleston Museum with contributing writers Jan Hiester, Laurel Horton and Nan Tournier. This is a great reference book with lots of overall shots of American quilts made using the paper template technique. This book focuses specifically on South Carolina quilts.
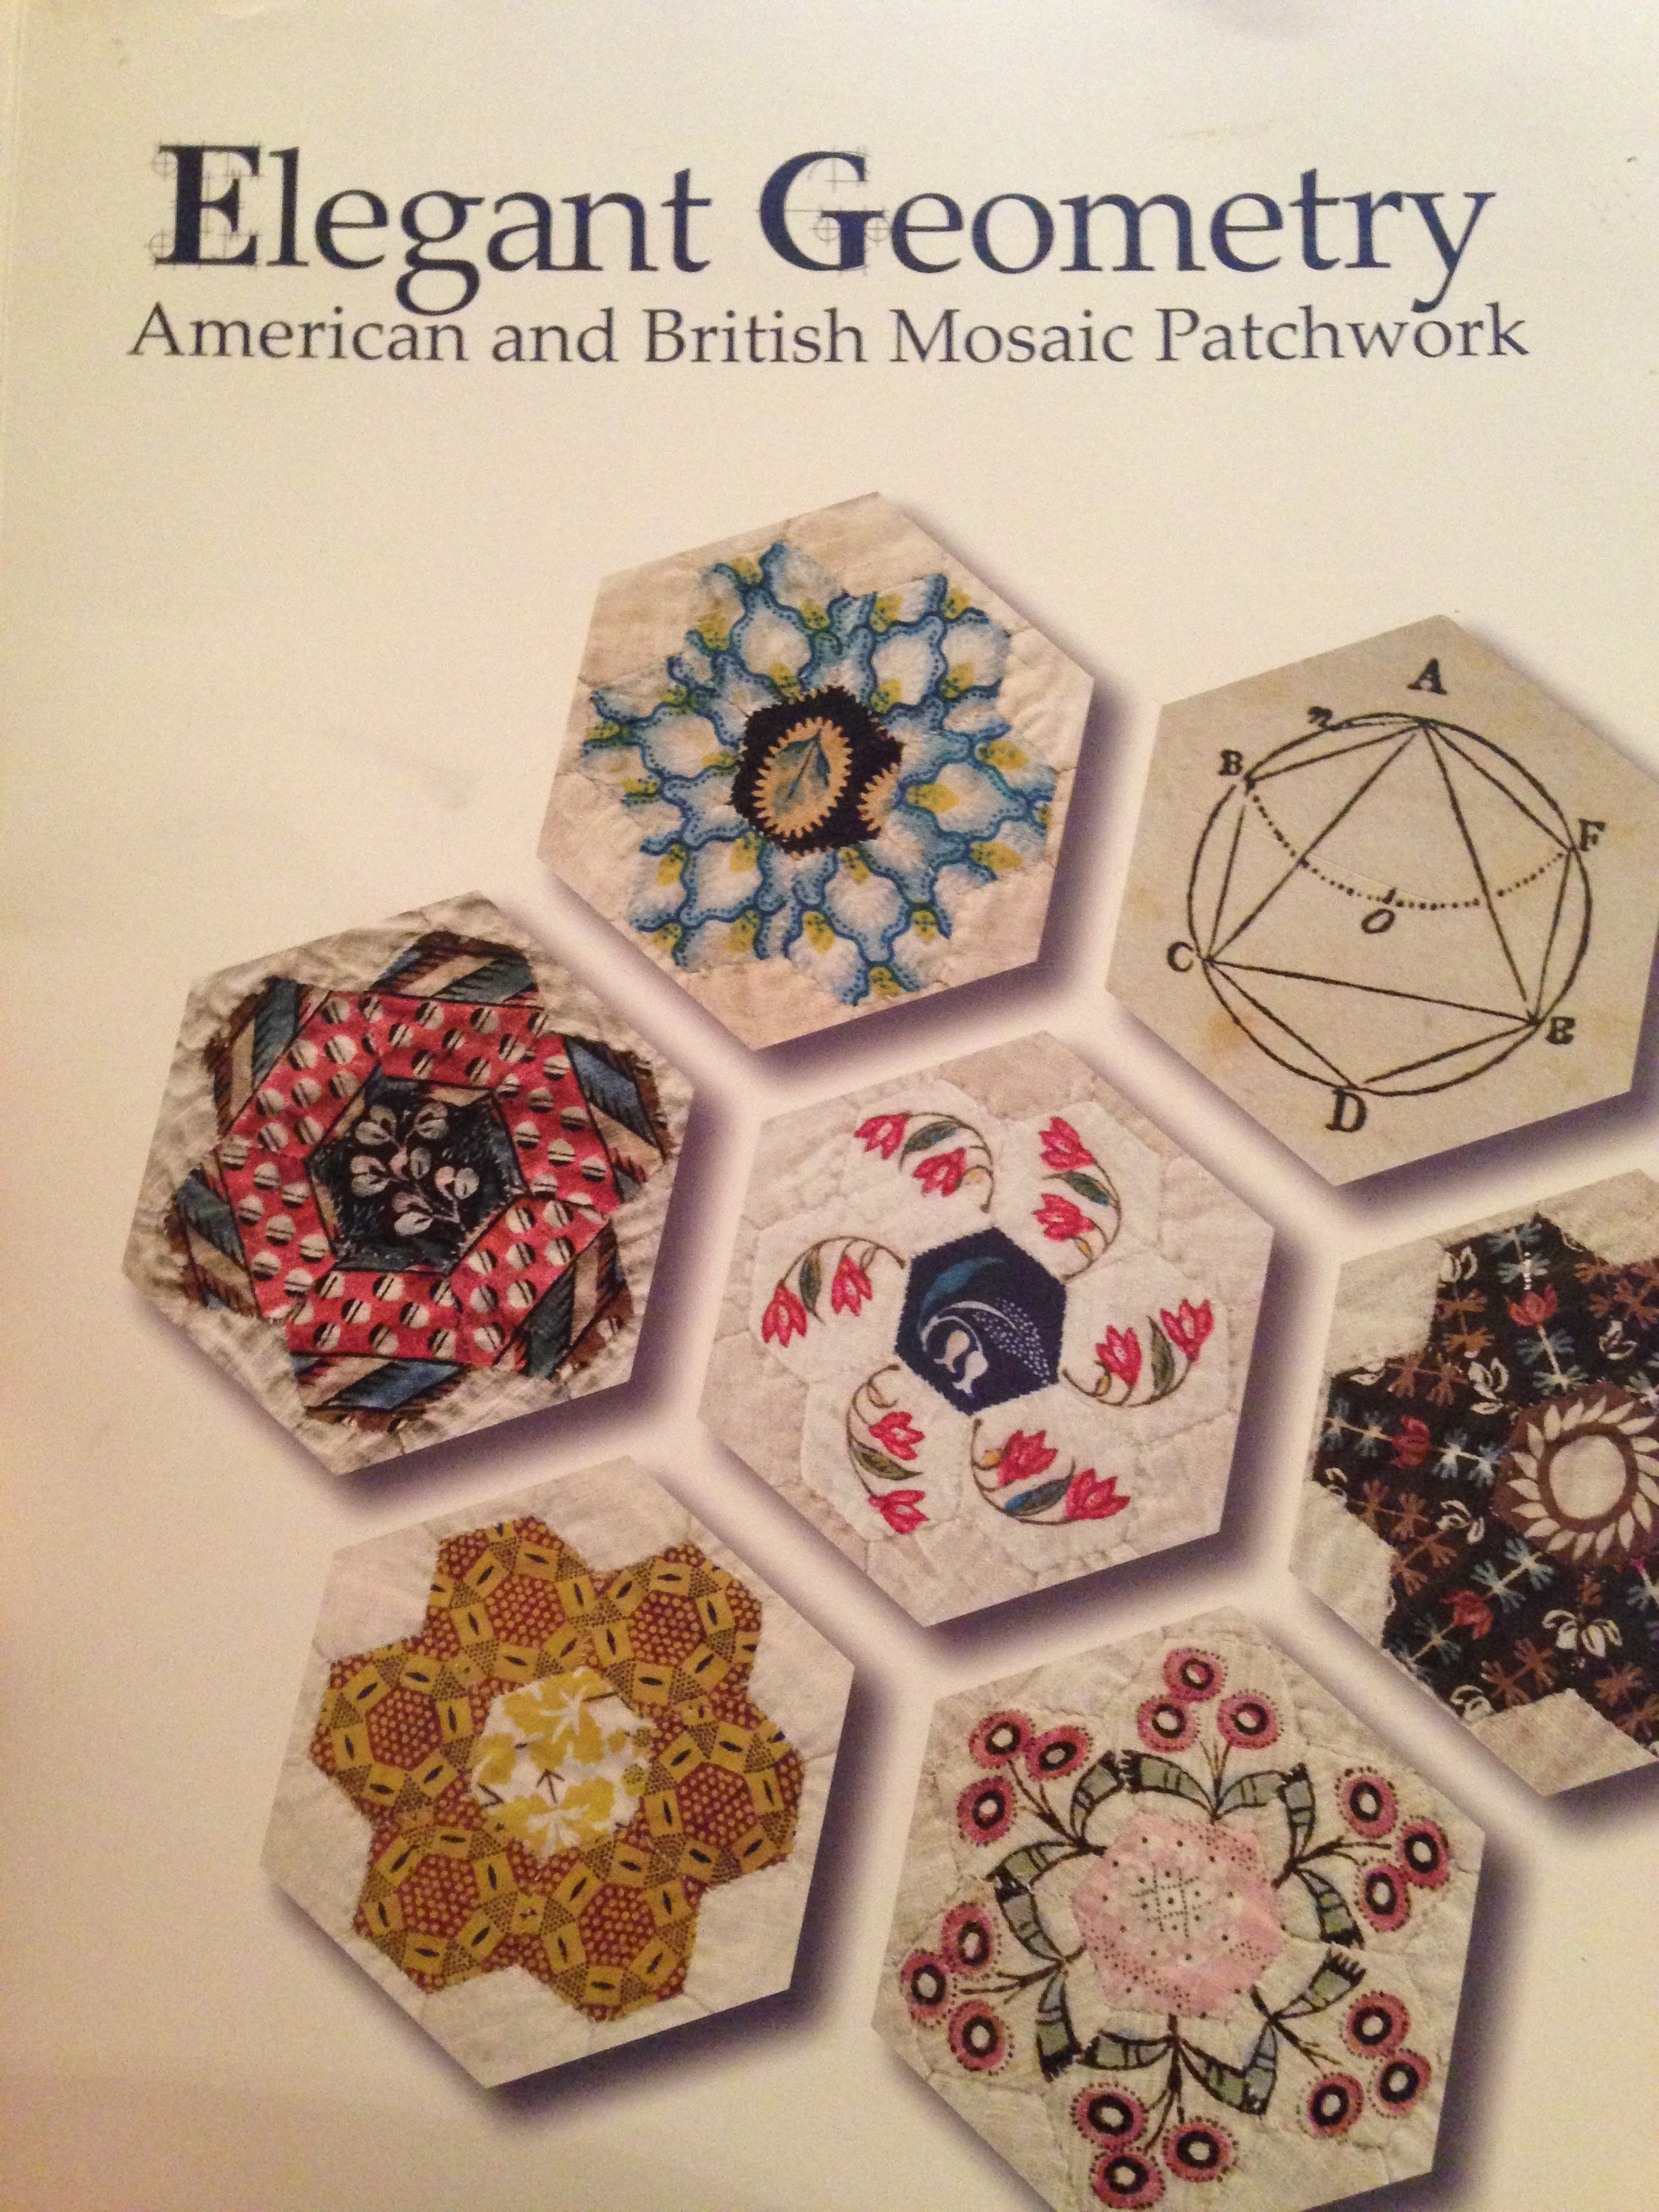 Elegant Geometry: American and British Mosaic Patchwork put out by the International Quilt Study Center & Museum with contributing writers Bridget Long and Patricia Cox Crews. This book is to die for and I only wish it were longer – 44 pages was just not enough of all that good stuff. The close up images are fabulous and the details are exceptional. If you don’t have it, you should!
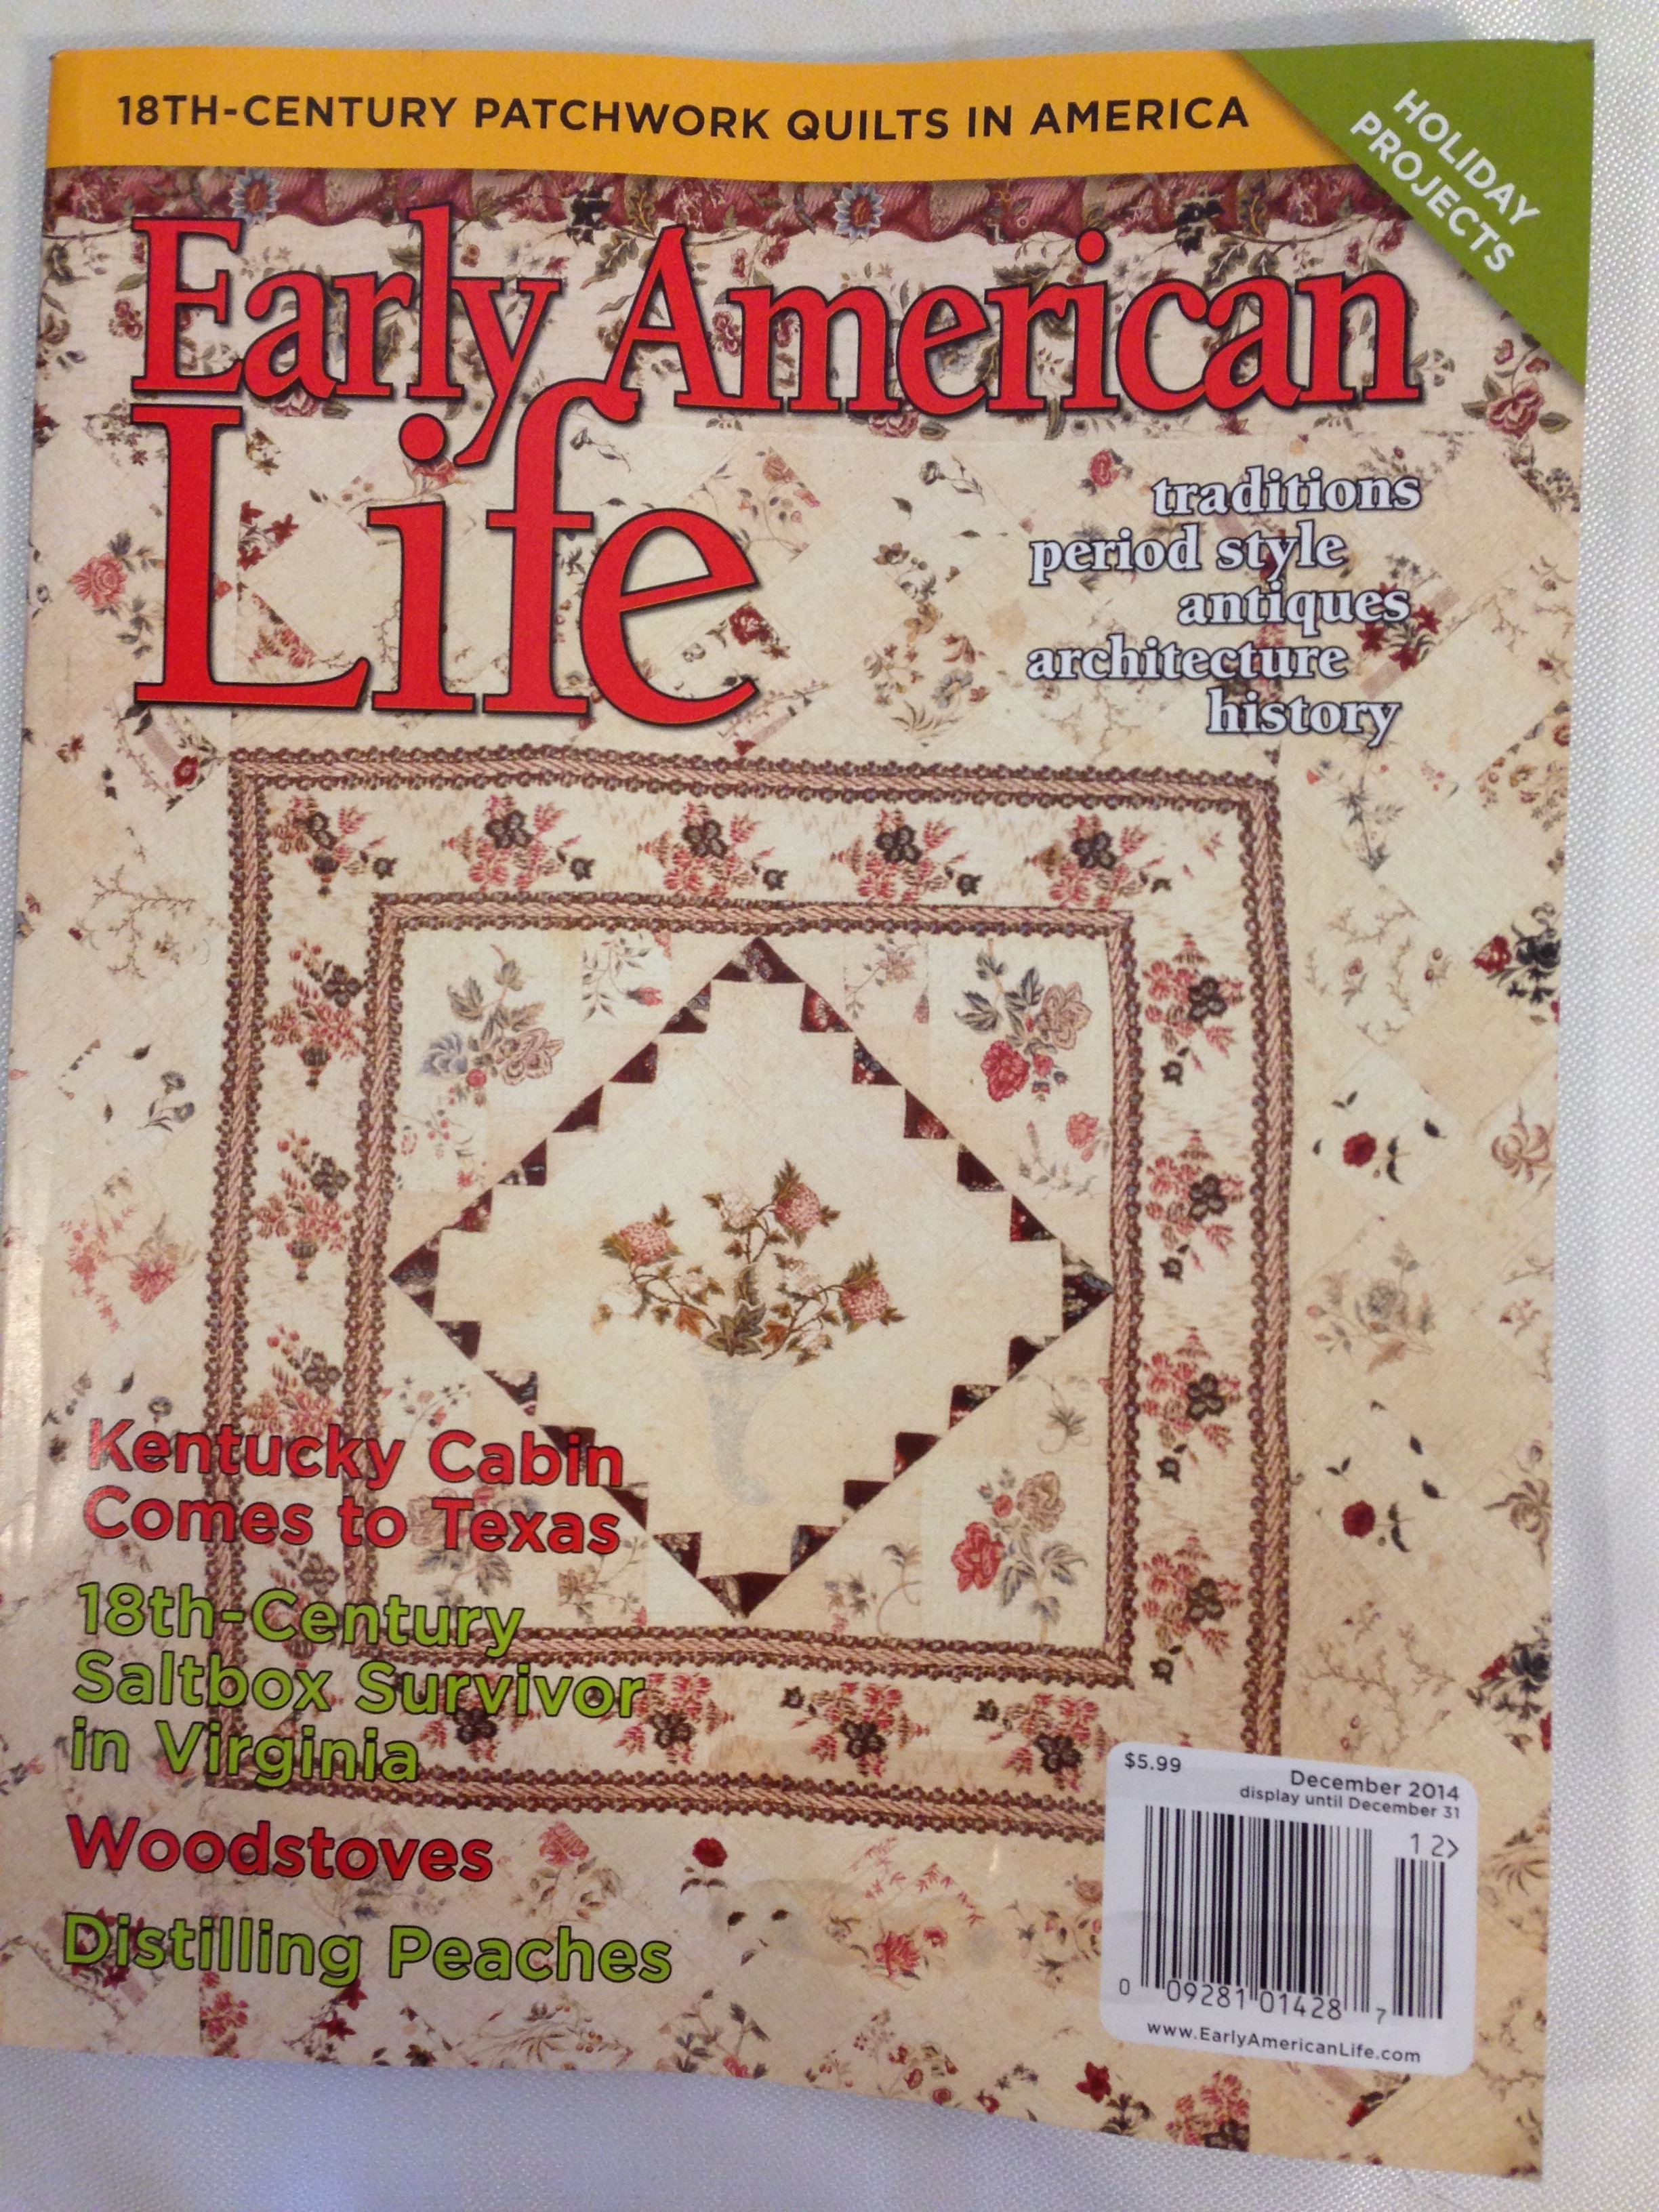 And a very recent magazine article titled Early American Patchwork Quilts describes in detail early paper pieced patchwork. Pick up the December 2014 issue of Early American Life. The article, written by Linda Baumgarten and Kimberly Smith Ivey, provides a wonderful look at 18th Century American patchwork. Yes, I said 18th Century! A Must Read!
If you are interested in trying your hand at English Paper Piecing, there are whole lot of patterns and books for you to chose from, but I think the best inspiration is an old quilt. Look through your books, search the internet, particularly Pinterest, for quilts that inspire you. Start small, that’s my advice, just one flower unit or diamond star to begin with so you don’t get overwhelmed. Before you know it you’ll have a bunch read to assemble into something larger. And my number one rule when hand piecing hexagons or other shapes using English Paper Piecing . . . NEVER, NEVER count the pieces until you are all finished.
![]() And if you need templates, I think Paperpieces.com has the very best. They are the perfect thickness and each template can be used multiple times.
And if you need templates, I think Paperpieces.com has the very best. They are the perfect thickness and each template can be used multiple times.
I hope you will share your English Paper Piecing projects here. Share you pictures, share your thoughts. I would love to hear from you.
That’s it for tonight, so until next time… “Speak Life”
Leah
